The Beginnings
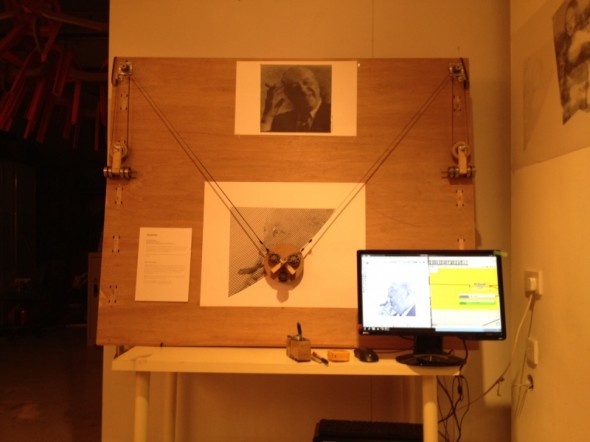
My friend Ricci Wong, who is an contractor/fabricator for interior decoration/installation/artwork, invited me to make an installation art for the his studio’s open day in Fotan. So I made this polargraph to exhibit there. The intent of doing this project is mainly as an exercise for myself, since it is going to touch upon many areas of my interest, where some of those I know just enough to know what I’m doing. Another main reason is that not many people play with electronics or robotics in Hong Kong, so the exhibition would be a nice place to show that to a wide range of local audience.
I have seen the Polargraph almost a year ago and I find this amazing machine very poetic and elegant. There has so far been a number of people doing this machine on different scales:  Sandy Noble - polargraph.co.uk and Drawnomic.  As I know more about Drawing Machines, I realize there are a lot of people (new media artist? as least that is what they called themselves) designing many different drawing machines. So polargraph is just one of them.
This project covers the following topics:
- Hardware – Making the drawing board is not difficult, just take some time.
- Stepper motors and driver – This is the first time I’m building a stepper driver from transistors using a H-Bridge strategy
- Motion control – My first time to use the AccelStepper Library in Arduino, testing if possible using it to control two motors with synchronized motions.
- Image analysis and instruction server – I think no one had written the control software in Grasshopper
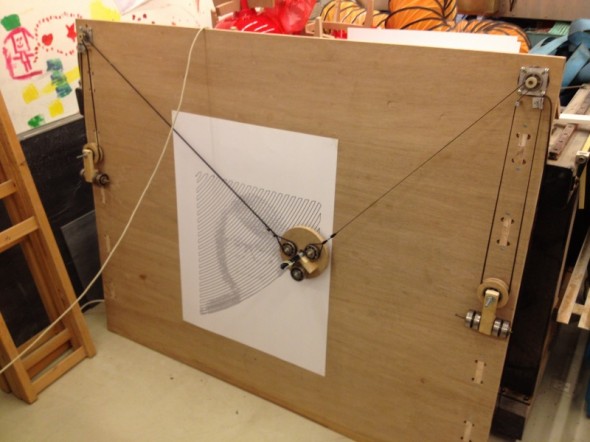
Drawing board and Hardware
(Lesson Learnt) If possible, have every piece of hardware planned before action. You reduce a lot of time if you can make them in one go. In my case I wasted a lot of time doing wood cuts because I didn’t planned the plywood frame properly. Â If I would have done that, the CNC cutting is fast.
(Side note) You may question why are there so many big metal bearings, I actually didn’t buy them, they are old bearings from Ricci’s shelves. Since it comes to be for free, I used it for all purpose: As bearing, pulley and counterweight.
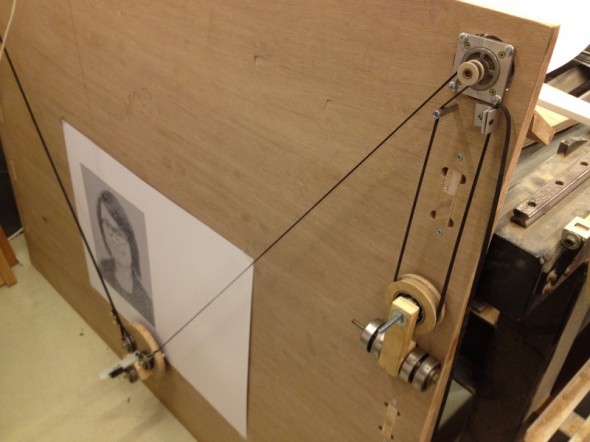
The counterweight is made into a block and tackle. At the beginning, I didn’t realize many other designers had made their machine landscape, not portrait, for a reason: The counterweight cable length will be significantly longer then my board’s height if you do it landscape. My first attempt is that the counterweight falls below the board’s bottom edge. The pulley I quickly made form the bearings works to reduce that length, but the simplistic pulley design may sometimes have the belt run out of the pulley shoulders and the whole thing fell.
I purchased two second-hand stepper motors for this project (RMB 60 each) , they are 12V 0.44A/coil, 8 wire, 1.8deg/step. The best thing about them is that they comes in with a timing belt wheel attached. It is MXL standard, which is a common standard for small precise timing. XML belts are also very thin and flexible, which is has an ideal hanging prosperity for my need (a thick belt need a lot of force to maintain straight). The mounting is easy to work with because it is a through hole, I can choose to use a through bolt and a square nut, tapping a thread is too much work (of course it will look nicer).
I had a bad time trying to figure out the leads configuration of the 8 wires, I searched online without much success on how to determine the 8 wires. Eventually I figured it out myself, you can read more about that on the separate post.
Stepper Motor Driver – Duel H Bridge
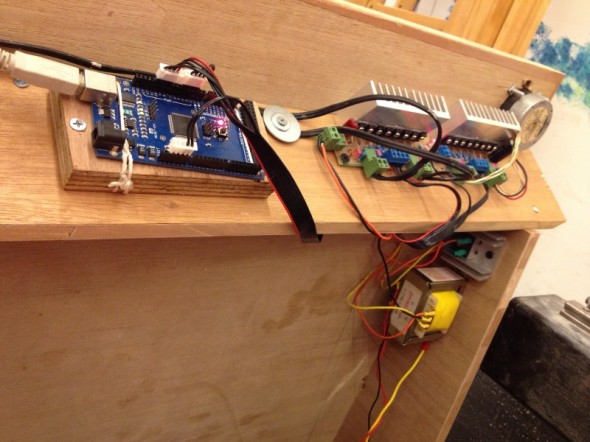
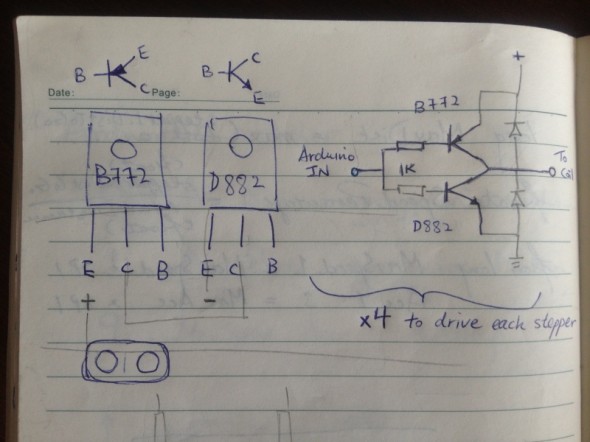
A stepper motor’s driving logic is very simple, thus if we ignore the auto current management and micro stepping, we can build a stepper motor very easily with some basic electronic components.
I have refereed to this post by Kerry Wong on Stepper Motor Drivers and this Schematic in Wikipedia. I noted that they are not very powerful schematics, mainly because of the lack of a number of useful features such as Short circuit protection, fail proof gate logic, accumulator to have simple 2 wire Up/Dn control (Each motor here needs 4 wires from Arduino for stepping), holding current reduction. But after all, it would be nice to try building one driver myself, although not ideal, it should be good enough to drive this drawing machine.
Electronics
Arduino is by far my favorite micro controller, mainly due to its price and ease for interfacing, partly due to the vast amount of available libraries. The functional requirement is this time are:
- Receive coordinates from computer (I will be using Rhino/Grasshopper/Firefly to send the instruction via USB port serial communication)
- Control two motors in synchronized manner (Linear interpolated motion)
- Two stepper motors need to move with acceleration and deceleration, otherwise, I will have to run it very slow
- Arduino need to tell computer it has reached the new point, ready to receive a new instruction.
Rhino/Grasshopper/Firefly
Many other maker made their drawing board with a Processing developed software, like this one here. Since I have more experience programming in Grasshopper (I do know some Processing), and the Rhino Geometry Core provides a good geometry library for me, I decided to script the software there.
Continuous line art
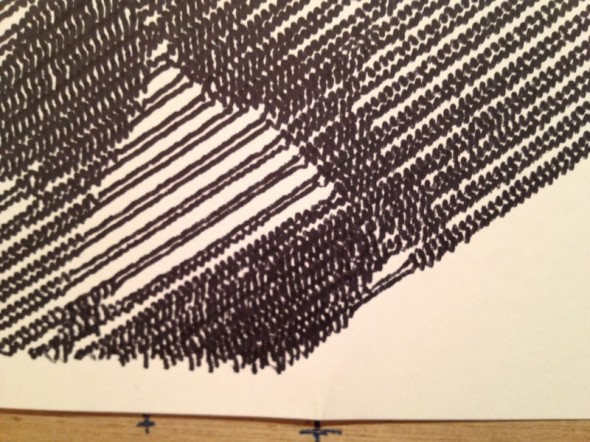
Since this machine drag a  pen on the canvas forming a continuously line, it draws an image in a special way to denote the light and dark shades.
If you search for “Continuous Line Art”, you are going to see more algorithms in this field. In this project, I have scripted the analyzer to create either a polar sweeping or a horizontal sweeping type of image.


One thought on “Polargraph in Exhibition”
Comments are closed.